VPNs in the Apple Ecosystem: A Step-by-Step Tutorial
If you've heard of Virtual Private Networks (VPNs) but never had the courage to explore them because they seem complex, don't worry. Despite being technical, using a VPN on your Mac (or other Apple devices, such as iPhone and iPad) is simpler than you imagine. In a world where digital privacy is increasingly important, configurations like these become essential.What is a VPN and How Does It Work?
A VPN encrypts the connection between your device and the internet, ensuring that your data is protected against third-party interference. Additionally, it allows you to set a fake virtual location: that is, you can connect to servers that make it seem like you're in New York, rather than your actual location. This feature is particularly useful for accessing exclusive content from certain geographies, such as BBC iPlayer (United Kingdom) or HBO Max (USA), for example. Using a VPN is also a cornerstone for those concerned with online privacy, hiding your IP address and making your online activities more secure.Steps to Configure Your VPN on Mac
Step 1: Choose the Ideal VPN Service
Choosing the VPN service is crucial. In the market, there are numerous options, such as NordVPN, which often stands out in reviews for its reliability, security and speed. Currently, you can get plans starting from $2.99 per month for a two-year subscription, with three additional months free. Other alternatives can be explored in product rankings, such as the best VPN services for Mac, which take into account features and price.Step 2: Install the VPN App
After creating an account with the chosen service, download the corresponding application. In the case of NordVPN, for example, you can download it directly from the [official NordVPN website](https://nordvpn.com) or through the App Store on your Mac. This is an essential step to simplify the configuration process and ensure automatic application updates.Step 3: Log in to the Application
Once the application is installed, open it and log in using the credentials created during registration. For downloads made through the App Store, you may need to enter your Apple ID during the installation process.Step 4: Allow Network Settings
When starting the VPN application, you will be asked to allow specific configurations to be added to your Mac's system. This is an automatic process that requires only that you click on "Allow" and, if prompted, enter your device access password. With services like NordVPN, the software automatically takes care of all necessary adjustments, but remember: only trust VPNs downloaded from reputable sources.Step 5: Choose the Server Location
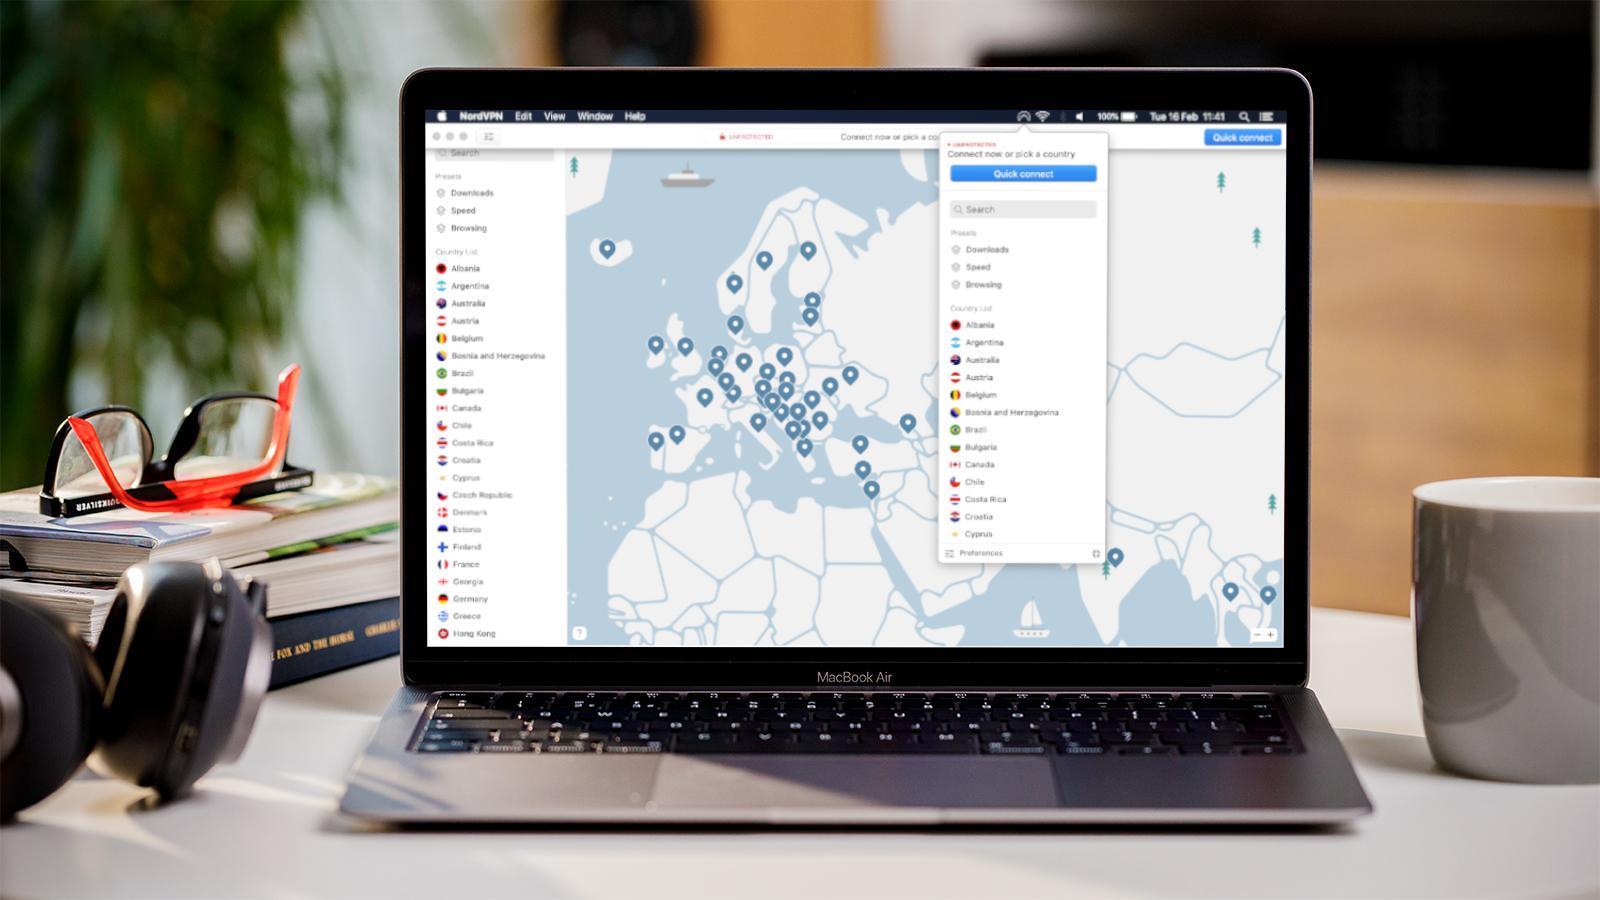
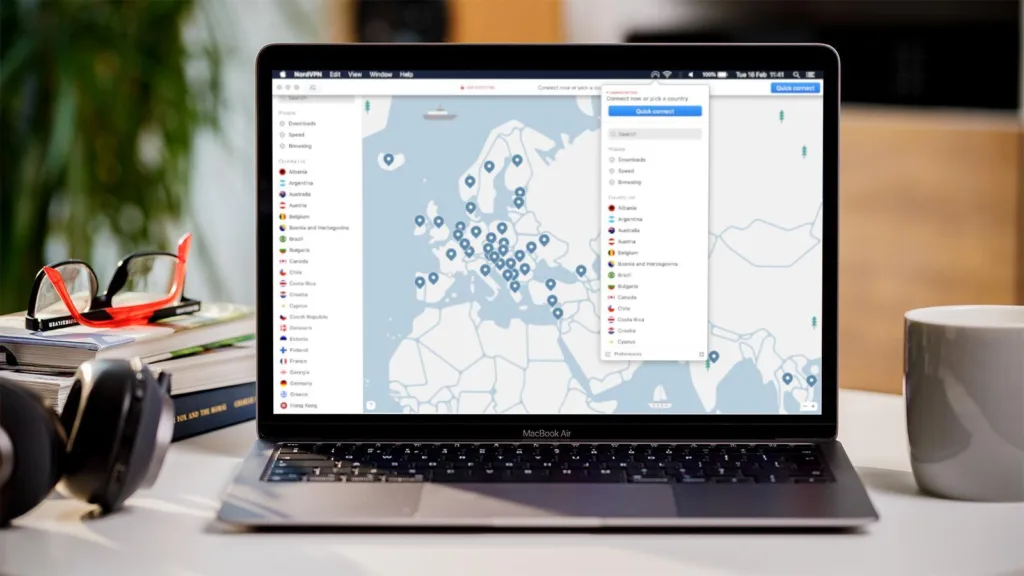
Now that everything is ready, choose the server location. This feature is fundamental for accessing content specific to a region. For example, you can connect to a server in the USA to watch Netflix's American catalogue or opt for a server in the United Kingdom to access BBC iPlayer. In the case of NordVPN, the selection is practical and made through a search bar, an interactive map or a list of countries. Other VPN providers offer interfaces with similar features, always keeping the user in mind.Step 6: Configure VPN Preferences
VPN services generally offer additional features in the settings. Practical examples include auto-connect configurations when the computer starts or the activation of a "Kill Switch", which cuts the internet connection if the VPN service is interrupted, preventing data leakage. In NordVPN's settings menu, you can customise these options and activate additional security tools to improve your experience.Frequently Asked Questions: Configure VPN Without Application
If the chosen service does not have a dedicated application, knowing how to manually configure the VPN is also a useful skill. On your Mac, you can go to System Settings > Network and manually add configurations provided by your VPN provider (Server Address, Account Name, etc.). A notable example is Hidden24, a trusted VPN that requires manual configuration but provides clear instructions on its website. Made with AI. Source: macworld.com news link Reviewed by:April 2026 Update: VPN on macOS 26 Tahoe
On any refurbished Mac, VPN configuration became simpler on macOS 26 Tahoe: the system automatically recognises the main protocols (WireGuard, OpenVPN, IKEv2, L2TP) and offers native Safari extension for integration with commercial VPNs. iCloud Private Relay remains available to iCloud+ customers as a privacy alternative.
In this article
- VPNs in the Apple Ecosystem: A Step-by-Step Tutorial
- What is a VPN and How Does It Work?
- Steps to Configure Your VPN on Mac
- Step 1: Choose the Ideal VPN Service
- Step 2: Install the VPN App
- Step 3: Log in to the Application
- Step 4: Allow Network Settings
- Step 5: Choose the Server Location
- Step 6: Configure VPN Preferences
- Frequently Asked Questions: Configure VPN Without Application
- April 2026 Update: VPN on macOS 26 Tahoe
- Which VPN to Choose for Mac in 2026?
- How to Configure WireGuard on a Refurbished MacBook?
- Is Free VPN Safe in 2026?
- Can I Use VPN to Bypass Geo-Blocks on Netflix?
- Does VPN Slow Down MacBook?
- Does VPN on Mac Also Protect iPhone?
- Read also
Which VPN to Choose for Mac in 2026?
For average user: iCloud Private Relay (included in iCloud+ from €0.99/month): encrypts Safari traffic without installing anything. For maximum privacy: Mullvad VPN (€5/month, no logs) or ProtonVPN (free or €4-10/month). For streaming foreign catalogues: NordVPN or ExpressVPN: more expensive but with residential servers.
How to Configure WireGuard on a Refurbished MacBook?
Install the official WireGuard client from the Mac App Store (free). Add the tunnel manually (with server config) or import a .conf file. On macOS 26 Tahoe, integration with Control Centre allows you to turn VPN on/off with a click in the Wi-Fi menu.
Is Free VPN Safe in 2026?
Typically not. Free VPNs (except ProtonVPN Free, which has a different business model) fund themselves by selling user data or injecting ads. For occasional use, better iCloud Private Relay included in iCloud+: Apple does not access traffic and the service is indirectly paid.
Can I Use VPN to Bypass Geo-Blocks on Netflix?
Technically yes, but Netflix detects most commercial VPN servers and blocks access. It shows "Proxy Error". VPNs with residential IPs (expensive) work, but cost €15+/month. For most people, it's worth more to subscribe to alternative services in the destination country than to pay for premium VPN.
Does VPN Slow Down MacBook?
Around 5-15% speed loss depending on the server chosen. On a refurbished MacBook Air with Apple Silicon, the impact is minimal: M-series chip has hardware acceleration for encryption. On iOutlet refurbished MacBook, all models come with 24-month warranty and support VPN without problems.
Does VPN on Mac Also Protect iPhone?
No: each device needs its own VPN client. But most services (NordVPN, ExpressVPN, Mullvad) allow multiple simultaneous connections (5-10) with the same subscription. Set up on refurbished iPhone and refurbished MacBook with the same account: this way you cover your whole home with a single subscription.
Read also
- The latest Apple news 2022
- The latest Apple news!
- Investing in Apple shares: a complete analysis
- View refurbished Macs at iOutlet
Get more articles like this one.
Refurbished tech analysis + €5 with BEMVINDO5 on your first order.