In this article
- Global overview: what iPhone camera modes are and why they matter
- Practical advantages: Portrait for separating subject from background
- Real-world use cases: Panorama for wide (and also vertical) scenes
- Technical details: Photo mode has hidden manual controls
- Ecosystem integration: Spatial mode and the Vision Pro requirement
- Limitations & Challenges: typical errors and how to avoid them
- Next steps: a simple method to pick the right mode
- What to do now (in 5 minutes)
- FAQ
Global overview: what iPhone camera modes are and why they matter
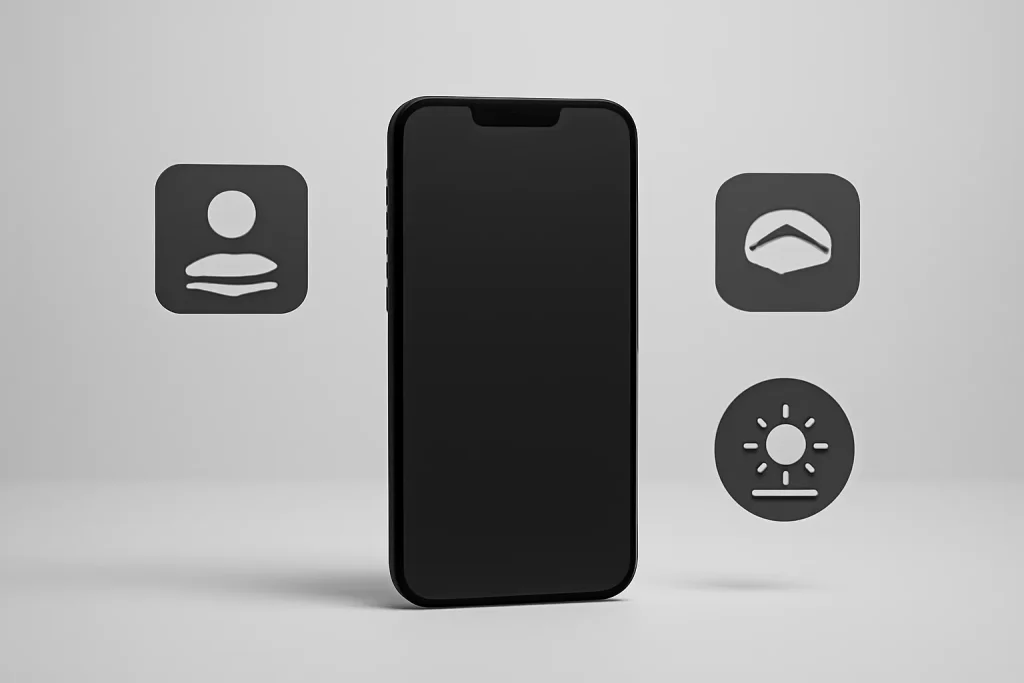
In the Camera app, each mode adjusts how the iPhone captures and processes the image. This includes how it measures exposure, how it decides the focus point, what type of stabilisation it tries to apply and what (computational) processing it uses to separate subject and background or to stitch multiple images into one. In practice, iPhone camera modes aim to reduce typical "point-and-shoot" failures: people with backgrounds that are too sharp (Portrait), landscapes that don't fit the frame (Panorama) and photos with overly bright or shadowy areas (controls in Photo mode). There is also a newer, niche mode, Spatial, designed for viewing in 3D on another device.Practical advantages: Portrait for separating subject from background
Portrait mode attempts to mimic the classic effect of cameras with bright lenses: a blurred background and a sharp subject (shallow depth of field). On iPhone this is achieved through subject segmentation and applying blur to the background, based on depth data and/or computational estimates, depending on the model. For Portrait to work well, distance is critical. If you are too close or too far, the iPhone will prompt you to adjust. When the distance is right, the subject separation tends to be cleaner, with fewer odd "clipping" artefacts around hair, glasses or outlines. It is worth exploring lighting options (for example, natural light and more dramatic variations) and the "Aperture" control. Here, "Aperture" is simulated: it does not physically change the lens but alters the amount of blur. If the background starts to look artificial, reduce the blur; if you want a more editorial look, increase it modestly. An advantage is that you can fine-tune later in the Photos app without re-capturing. When does this become one of the iPhone camera modes that pays off most? In individual portraits, photos of children (provided they are not moving too much) and objects against a busy background. In groups it can falter if people are on different planes, because the segmentation and blur do not "understand" multiple depths simultaneously.Real-world use cases: Panorama for wide (and also vertical) scenes
Panorama mode stitches several frames into a single image, creating a field of view larger than a normal photo. It is ideal for landscapes, horizon lines, spacious interiors and architecture when you cannot step back. The secret is consistent movement. After tapping the shutter, move the iPhone slowly and steadily, keeping the arrow aligned with the reference line. Sudden movements create visible "seams" and distortions, especially in nearby objects. A little-used trick: panoramas don't have to be horizontal. If you rotate the iPhone and make a vertical sweep, you can capture tall buildings or trees without resorting to ultra-wide lenses (which tend to distort more at the edges). Among iPhone camera modes, this one benefits most from practice: two or three attempts are usually enough to feel the right rhythm.Technical details: Photo mode has hidden manual controls
Photo mode is the "auto-pilot" and therefore the most used. Still, it has controls that change the result instantly. First, focus: tap the screen to choose the focus point. If you want focus and exposure to stay fixed when you recompose, keep your finger pressed until the AF/AE lock (autofocus/autoexposure) appears. Next, exposure: after setting focus, swipe up or down to brighten or darken the image. This is useful in back-light (people with a window behind), scenes with a bright sky or when the iPhone insists on "washing out" shadows to look lighter than they are. In additional menus (normally accessed via an options icon), practical tools appear: flash, timer, aspect ratio and finer exposure controls. You can also switch styles and filters before shooting, which changes the final look without post-capture editing. Of all iPhone camera modes, this one rewards small tweaks the most: a tap to focus and a slight exposure adjustment solve many "good but not great" photos. There are also two automatic behaviours that confuse users: Night mode (moon icon) and Macro mode (flower icon). Both may activate when the iPhone detects low light or close proximity. If the photo looks different from expected, check whether either mode engaged and adjust manually when the system allows.
Ecosystem integration: Spatial mode and the Vision Pro requirement
Spatial mode is the most specialised. It only appears on certain models (such as iPhone 15 Pro/Pro Max and iPhone 16 or later, according to the original piece) and captures photo and video with depth information for immersive viewing on an Apple Vision Pro. Simply put, it is content meant to be seen "in 3D" on a compatible headset. Without a Vision Pro, the result tends to look like a normal photo/video on other devices. Therefore, for most people, this is one of the iPhone camera modes with the least day-to-day impact - unless you are already in Apple's spatial computing ecosystem or plan to join. If you decide to use it, stability and framing matter more than usual: hold the iPhone level, in horizontal orientation, with the subject at a moderate distance and under even lighting. The aim is to give the system conditions to estimate depth with fewer "jumps" and less visual noise.Limitations & Challenges: typical errors and how to avoid them
Even when you master iPhone camera modes, predictable limitations remain. In Portrait, the segmentation can fail on loose hair, transparent objects and complex outlines. The fix is to reduce blur, improve lighting and avoid backgrounds with highly contrasting patterns. In Panorama, people and cars in motion may appear "cut" or duplicated because the image is built over time. If the scene contains movement, try a faster panorama (without shaking) or wait for a more stable moment. In Photo mode, the most common mistake is relying wholly on automatic exposure. In high-contrast scenes, a small manual tweak prevents blown-out skies and overly dark faces. If you often shoot indoors, remember that Night mode can lengthen capture time; any shake turns into loss of sharpness.Next steps: a simple method to pick the right mode
To make this automatic, use a three-point rule: people -> Portrait; "doesn't fit" -> Panorama; everything else -> Photo with focus and exposure adjusted. In 30 seconds, you move from "acceptable photo" to "intentional photo". If you want to dig deeper, it is worth periodically reviewing the iOS settings that affect camera and processing (for example, styles, preservation of settings and automatic-mode behaviour). At iOutlet, you can cross-reference this topic with useful iOS tweaks , and if you notice abnormal battery drain when shooting a lot, with battery-drain causes
What to do now (in 5 minutes)
Open the Camera and run three quick tests: (1) Portrait at a comfortable distance and adjust the "Aperture" to see when blur starts to look artificial; (2) Horizontal Panorama with slow, steady movement; (3) Photo mode with AF/AE lock and a slight exposure tweak in back-light. This routine sticks in memory for when each iPhone camera mode solves a real problem. For editorial transparency, the inspiration is based on the original guide published by Tom's Guide: How to use every iPhone camara mode.FAQ
- Why does Portrait sometimes "clip" hair poorly?
- Because the iPhone needs to separate subject and background via segmentation and depth; loose hair and high-contrast backgrounds make that estimation difficult. Reducing blur, improving lighting and simplifying the background usually helps.
- Can I use Panorama to photograph tall buildings?
- Yes. Do a vertical panorama: rotate the iPhone and sweep it from bottom to top (or vice-versa) while keeping the on-screen alignment to avoid distortion.
- What is AF/AE lock and when should I use it?
- AF/AE Lock fixes focus (AF) and exposure (AE) so they don't change when you recompose the frame. It is useful in back-lit portraits, static subjects and scenes where the iPhone "shifts" exposure.
- Can Night mode and Macro mode get in the way of a photo?
- They can, if they activate when that wasn't the intention. Night mode can lengthen capture time and raise the risk of shake; Macro can alter focus behaviour at short distances. Check the icons and adjust manually where possible.
- Is it worth using filters/styles before shooting?
- It depends on the aim. Applying a style beforehand can give visual consistency and save editing, but it also "locks in" decisions (contrast/colour) in the final file. If you want maximum flexibility, keep a neutral look and edit later.
- Does Spatial mode make sense without Apple Vision Pro?
- Generally, it offers little benefit: on other devices the content tends to look normal. It makes more sense for anyone already using (or planning to use) a Vision Pro to view photos and videos with depth.
Get more articles like this one.
Refurbished tech analysis + €5 with BEMVINDO5 on your first order.