In this article
- Overview: what a VPN does (and what it does not do)
- Practical advantages: how to choose a provider without falling into traps
- Technical details: installation via an app (the simplest route)
- Architecture & Specifications: settings worth turning on
- Limitations & Challenges: manual setup on iOS (when it makes sense)
- Privacy concerns: what to check before trusting your traffic to a VPN
- Next Steps: a quick checklist for daily use
- FAQ
Overview: what a VPN does (and what it does not do)
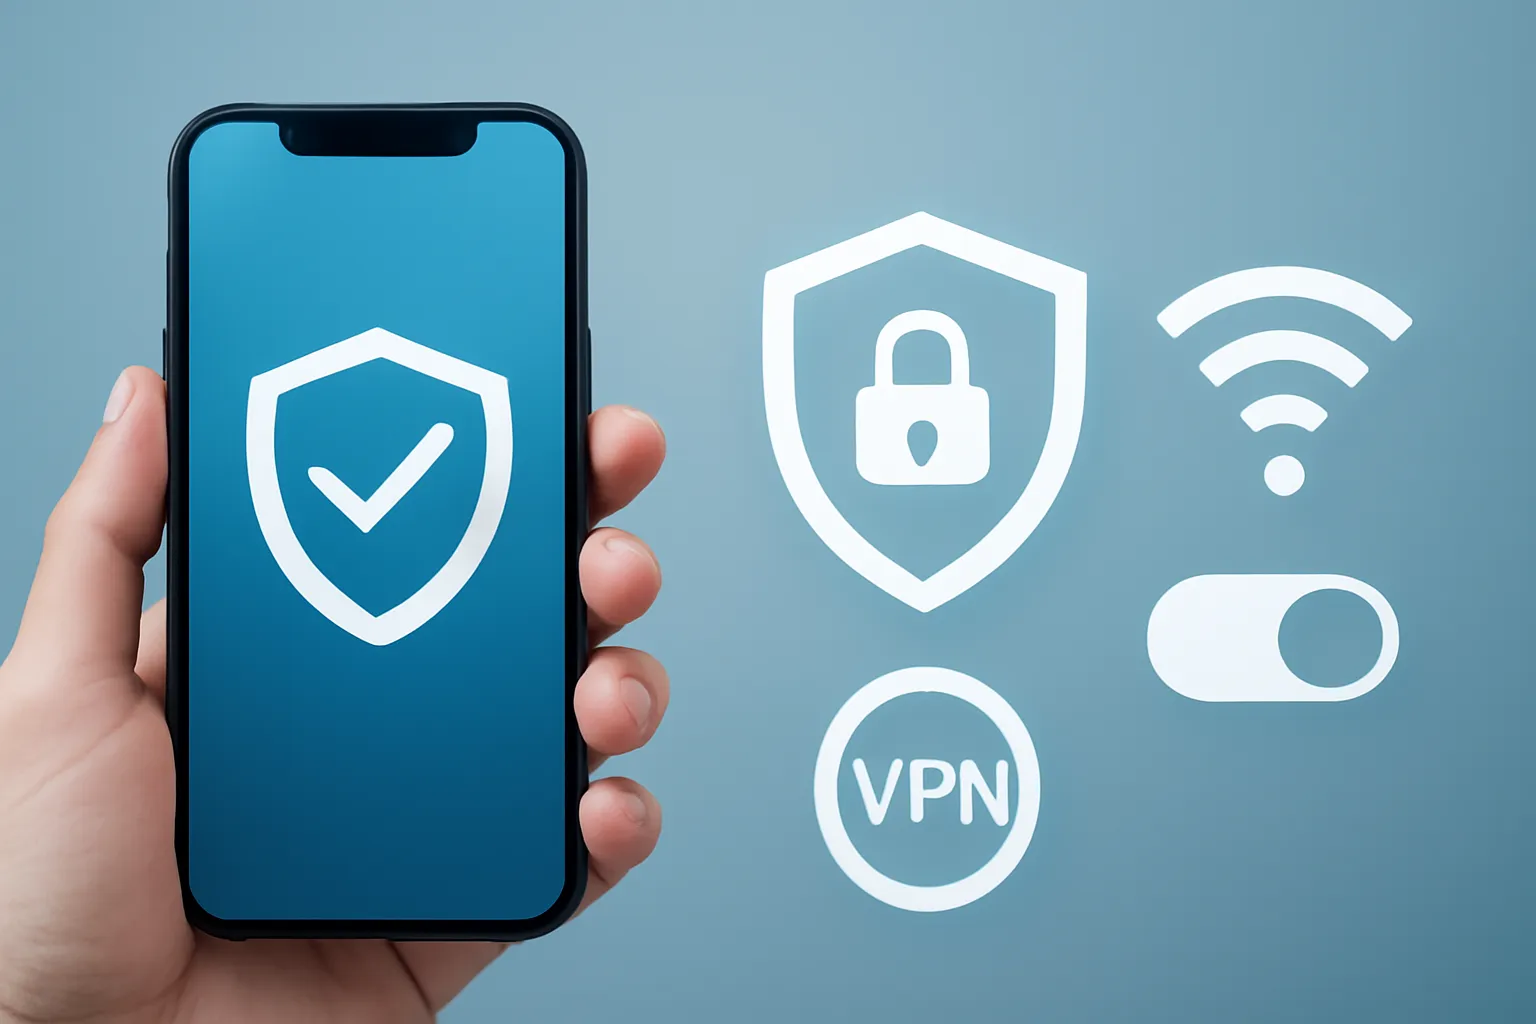
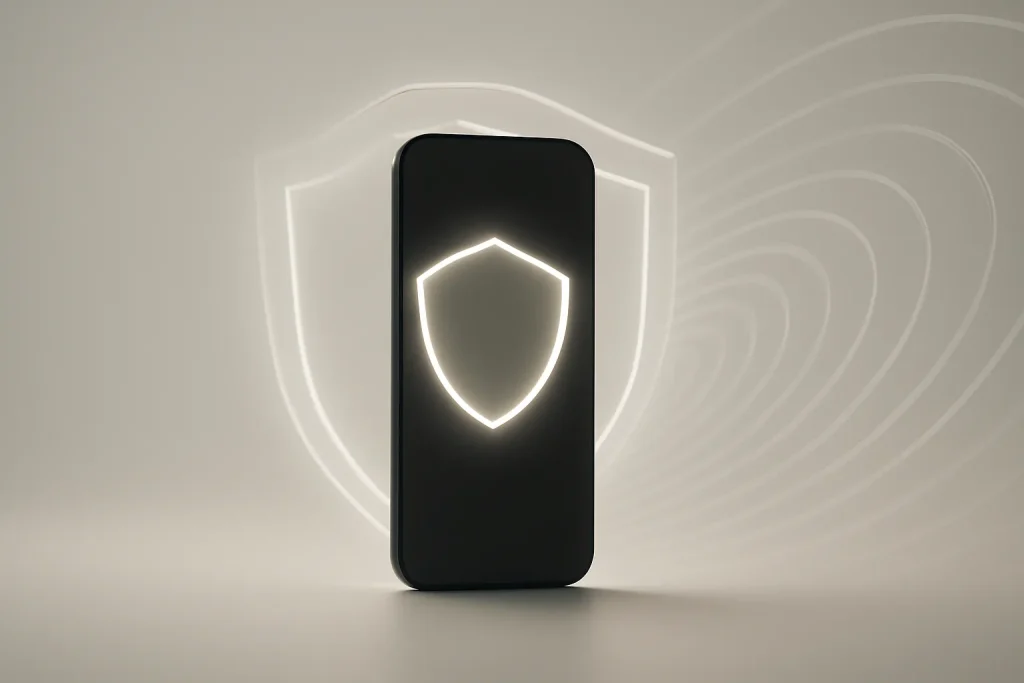
A VPN creates an encrypted “tunnel” between your iPhone and a remote server. In practice, your internet service provider (ISP) can no longer see the content of your traffic and instead sees primarily an encrypted connection to the VPN server; websites and apps see the server’s IP rather than yours. This improves privacy and security, especially on public networks. There are important limits. A VPN does not make you invisible: signed-in accounts (Google, social networks, apps) can still identify you, and tracking via cookies and fingerprinting can continue. In addition, iCloud Private Relay is not a VPN, it is a routing and encryption mechanism for web traffic in specific scenarios with different objectives. If you want consistent protection across apps and browsing, it makes sense to learn how to use a VPN on iPhone properly.Practical advantages: how to choose a provider without falling into traps
The most critical step in how to use a VPN on iPhone is choosing the provider. Avoid simply searching for “VPN” on the App Store and installing the first result: the list can favour ads and “free” services with unclear trade-offs. Look for basic signs of trust: transparent information about who runs the service, accessible history and policies, well-documented support, and a consistent reputation on the App Store (volume of reviews and general trend). If a trial period is available, use it to validate the essentials: stability, speed and the absence of IP leaks. A simple test is to check your IP before and after connecting to the VPN and confirm that it changes. It is also worth testing on café or hotel Wi‑Fi, where the VPN typically makes the biggest difference. If you already use a VPN on other devices, you can cross-reference this guide with iOutlet’s article on setting up a VPN on Mac to keep your criteria consistent.Technical details: installation via an app (the simplest route)
For most people, how to use a VPN on iPhone is solved by installing the provider’s official app. The typical flow is straightforward: install, create an account, choose a plan (or trial) and authorise the VPN profile in iOS when prompted. That authorisation is important because iOS creates a network profile that allows the service to manage the VPN connection securely. Practical steps, no fluff: 1) Open the App Store and search by the exact name of the service you chose (to avoid “copycat” apps). 2) Install and open the app; create an account or sign in. 3) When iOS asks permission to “Add VPN Configuration”, confirm. Without this, the VPN cannot establish the tunnel. 4) Turn on the VPN and pick a server: for privacy and security, use the fastest one (usually the nearest); for location, choose the desired country, preferring servers with good latency. At this stage, how to use a VPN on iPhone also means understanding the impact: some loss of speed is normal because of encryption and rerouting. If the drop is large, try another server or let the app choose automatically.Architecture & Specifications: settings worth turning on
Once installed, a VPN works with default settings, but there are options that change real-world security day to day. For how to use a VPN on iPhone, these are the ones that matter most: Kill switch: cuts your internet connection if the VPN drops, preventing your iPhone from communicating “in the clear” without you noticing. Automatic reconnection / Always-on: tries to re-establish the VPN when there are interruptions (network change, signal loss). Some services handle this in the app; others rely more on iOS settings. Split tunneling (if available): lets some apps bypass the VPN. Useful for apps that block VPNs, but risky if you include apps with sensitive data. Simple rule: only exclude what you are not concerned about protecting. Blocking of malicious domains / ads (when available): can reduce exposure to phishing and tracking. It does not replace good practices, but it helps. Protocols: if the app lets you choose, IKEv2 is often associated with good performance on mobile. Still, in most cases, leaving it on “Automatic” is safer and less prone to issues.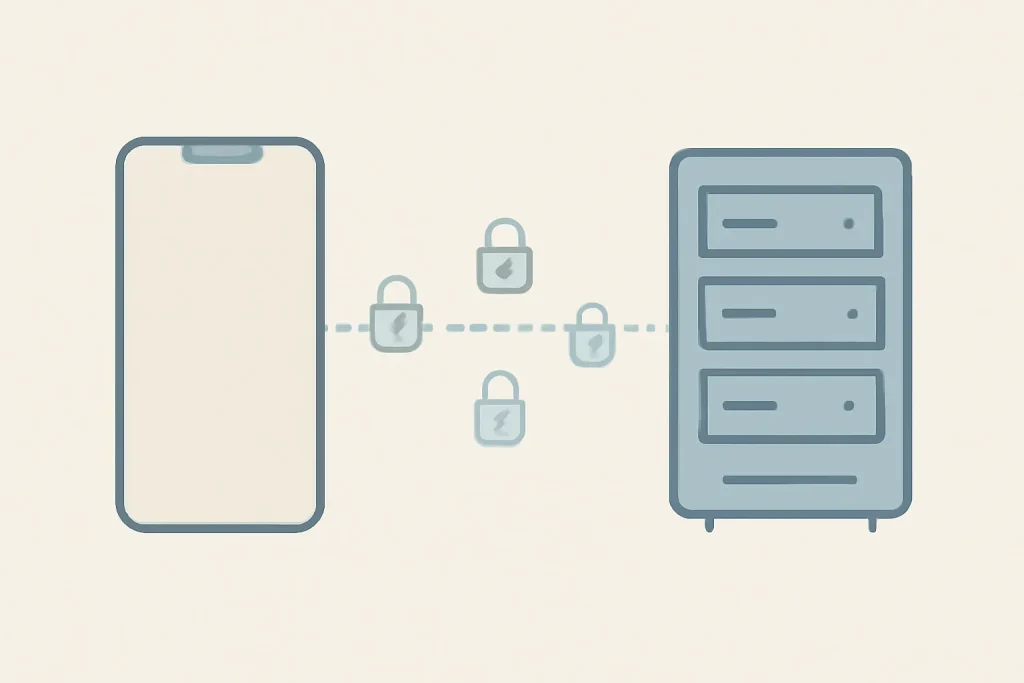
Limitations & Challenges: manual setup on iOS (when it makes sense)
There are scenarios where how to use a VPN on iPhone does not go through a commercial app: accessing a work or school VPN, or connecting directly to a server you control. Here, iOS allows you to configure a VPN manually, typically with IKEv2, as long as you have the server details and credentials. Steps on iPhone: 1) Open Settings > General. 2) Go to VPN & Device Management > VPN > Add VPN Configuration. 3) Under Type, choose IKEv2 and fill in Description, Server and Remote ID (and Local ID, if applicable). 4) Select the authentication method (username/password or certificate) according to your organisation’s or server’s instructions. 5) Save and turn on the switch to connect. This method gives you control, but also increases responsibility: if the parameters are wrong, you may end up with unstable or less secure connections. For anyone learning how to use a VPN on iPhone, the provider’s app remains the simplest and least error-prone route.Privacy concerns: what to check before trusting your traffic to a VPN
A VPN shifts trust from your ISP to the VPN provider. So, beyond simply “working”, it is worth understanding how the service handles data and incidents. Look for clear documentation, support options and signs of operational maturity. In practice, you should also check that there are no obvious leaks: confirm that your IP changes when you connect, and test on different networks (Wi‑Fi and mobile data). If your goal is to reduce exposure in calls and communications, remember that the VPN protects network transport, but does not change app permissions or prevent apps from sharing metadata. To supplement this, it may be useful to review iOS privacy best practices, such as iOutlet’s guide on private calls on iPhone.
Next Steps: a quick checklist for daily use
If you want to turn how to use a VPN on iPhone into a frictionless habit, follow this checklist: 1) Turn on kill switch and automatic reconnection. 2) Decide when to connect: always on public Wi‑Fi, or whenever you leave home. 3) Use nearby servers for speed; change country only when location is needed. 4) If something fails (banking, authentication, streaming), try a different server and avoid turning the VPN off as a routine. 5) Review permissions and notifications: fewer alerts, more predictability. For editorial transparency, the source text that inspired this guide is available at How to use a VPN on iPhone.FAQ
- Does a VPN on iPhone use more battery?
- It can. Encryption and maintaining the tunnel may increase consumption, especially with frequent reconnections. Typically, the difference depends on network quality and the chosen server.
- How do I know if the VPN is actually active on my iPhone?
- In addition to the app status, iOS usually shows a VPN indicator in the interface. You can also confirm by checking whether your IP changes when you turn the VPN on and off.
- Can I leave the VPN on all the time?
- Yes, and for many profiles it is the safest option, particularly on public networks. If you notice incompatibilities with specific apps, consider split tunneling (if available) or occasional exceptions.
- What should I do if a bank or app refuses to work with the VPN?
- Try a different server in the same country, change the protocol (if the app allows it), or turn it off temporarily just for that operation. Avoid making a habit of turning the VPN off for everything.
- IKEv2, WireGuard and OpenVPN: which one should I choose on iPhone?
- It depends on the service and your use case. IKEv2 is common on mobile and can be fast; other options may offer a better balance between performance and robustness. If you have no clear reason to pick one, “Automatic” is usually the most stable choice.
- Does iCloud Private Relay replace a VPN?
- No. Private Relay has different objectives and scope, and does not work as a general VPN for all app traffic. If you want consistent protection, it makes sense to use a VPN.
Get more articles like this one.
Refurbished tech analysis + €5 with BEMVINDO5 on your first order.