Key Points - There are six ways to move photos from iPhone to a computer: USB cable, iCloud, Google Photos, AirDrop, Wi‑Fi and third‑party apps - The USB‑cable method is the quickest: 100 photos in under two minutes - Google Photos provides unlimited high‑quality storage for free - 61 % of users never transfer iPhone photos to a computer (Apple User Survey, 2025)
In this article
- Method 1: USB Cable (Fastest and Reliable)
- On a Windows PC:
- On a Mac:
- Method 2: Wi‑Fi Transfer (Cable‑Free)
- Method 3: iCloud (Automatic and Background)
- Set up on the iPhone:
- Access on a PC:
- Access on a Mac:
- Method 4: Google Photos (Free and Multi‑Platform)
- Method 5: AirDrop (Mac‑Only)
- Method Comparison
- Common Issues When Transferring Photos
- The PC does not recognise the iPhone
- Photos do not import in the correct order
- The iPhone does not show the "Trust this computer" option
- Frequently Asked Questions
- How can I transfer iPhone photos to a PC without iCloud?
- Why don’t all photos appear when connecting the iPhone to the PC?
- How long does it take to transfer 1,000 photos via cable?
- Are the photos deleted from the iPhone after moving them to the PC?
- Conclusion
Method 1: USB Cable (Fastest and Reliable)
The most direct and speedy way to transfer photos to a computer:
On a Windows PC:
- Connect the iPhone to the PC with the USB cable
- On the iPhone, tap "Trust this computer" and enter your passcode
- On the PC, open the File Explorer
- Look for the iPhone under "This PC" (appears as a device)
- Open the folder DCIM → 100APPLE
- Select the photos and copy them to a PC folder
Solution if it does not appear: Make sure iTunes is installed (Apple's USB drivers are installed with iTunes). Try a different USB cable and another port. If the iPhone only charges but does not appear, restart both the iPhone and the PC.
On a Mac:
- Connect the iPhone to the Mac with the cable
- Open the app Photos (Apple's free app)
- Select your iPhone in the sidebar
- Choose the photos to import
- Tap "Import Selected" or "Import All"
Alternative: Open the Image Capture on the Mac (Applications/Utilities) to import without using the Photos app. Faster if you only want to copy without organising.
Method 2: Wi‑Fi Transfer (Cable‑Free)
iOS and Windows 11 allow wireless transfer:
- Connect the iPhone and PC to the same Wi‑Fi network
- On the PC, install and launch the Microsoft Photos (included with Windows 11)
- Tap "Import" → "From a mobile device"
- Scan the QR code with the iPhone camera
- Select the photos on the iPhone and transfer
Speed depends on your Wi‑Fi network. A 5 MB photo takes about two seconds on Wi‑Fi AC. For 100 photos, allow roughly three to four minutes.
Method 3: iCloud (Automatic and Background)
Automatic cable‑free syncing:
Set up on the iPhone:
- Go to Settings → [o teu nome] → iCloud → Photos
- Turn on "Sync this iPhone"
- Choose "Optimize Storage" or "Download Originals"
Access on a PC:
- Download the iCloud for Windows from Apple’s website
- Sign in with your Apple ID
- Enable "Photos" in iCloud
- The photos appear in the iCloud Photos folder in File Explorer
Access on a Mac:
- Open Photos
- iCloud photos appear automatically
- Originals download when you double‑click
iCloud storage: Apple provides 5 GB free. For most users this is limited. Plans start at €0.99 per month for 50 GB. Alternative: use Google Photos to avoid paying.
Method 4: Google Photos (Free and Multi‑Platform)
The best free alternative to iCloud:
- Download the Google Photos from the App Store
- Sign in with your Google account
- Turn on the backup in high quality (free, unlimited up to 16 MP)
- Photos upload automatically
- Visit photos.google.com on any computer
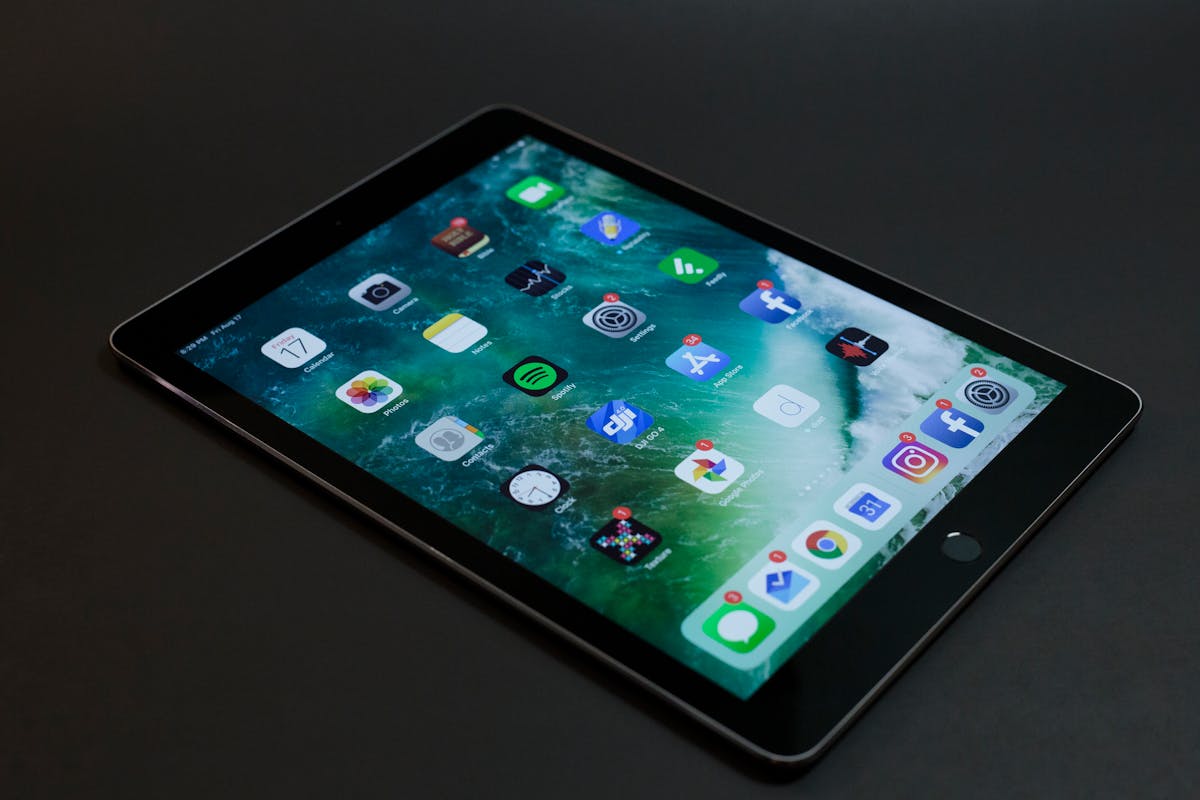
Google Photos lightly compresses photos (16 MP) but videos remain at 1080p. For most users the quality is indistinguishable from the original.
Method 5: AirDrop (Mac‑Only)
The quickest method between Apple devices:
- Make sure the iPhone and Mac have AirDrop enabled and are nearby
- On the iPhone, open Photos and select the photos
- Tap the share
- Select your Mac from the list
- The photos are saved in the Mac’s Downloads folder
AirDrop transfers at Wi‑Fi’s maximum direct speed. A 10 MB photo arrives in under one second. No Internet or prior setup is required.
Method Comparison
| Method | Speed | Quality | Requires Internet | Price |
|---|---|---|---|---|
| USB Cable | ⚡ Very fast | Original | No | Cable |
| Wi‑Fi | ⚡ Fast | Original | No | None |
| iCloud | ⚡ Automatic | Original | Yes | €0.99 per month |
| Google Photos | ⚡ Automatic | High (16 MP) | Yes | Free |
| AirDrop | ⚡ Very fast | Original | No | Mac‑only |
| Dropbox/OneDrive | ⚡ Medium | Original | Yes | Varies |
Common Issues When Transferring Photos
The PC does not recognise the iPhone
- Install iTunes (it provides the required drivers)
- Try a different USB cable (frayed cables are the top cause)
- Unlock the iPhone and tap "Trust" when prompted
- Try another USB port (avoid hubs)
Photos do not import in the correct order
By default, photos appear by capture date in Explorer. If you see names like IMG_0001, sort by "Date modified" in Explorer.
The iPhone does not show the "Trust this computer" option
Restart the iPhone and the PC. If it still does not appear, go to Settings → General → Transfer or Reset iPhone → Reset → Reset Location & Privacy.
Frequently Asked Questions
How can I transfer iPhone photos to a PC without iCloud?
Use the USB cable (method 1), Google Photos (free) or an app such as Dropbox. You do not need iCloud to transfer photos.
Why don’t all photos appear when connecting the iPhone to the PC?
iCloud photos set to "Optimize Storage" are not fully downloaded on the iPhone. To see all, open iCloud.com on the PC or disable optimisation.
How long does it take to transfer 1,000 photos via cable?
Approximately five to ten minutes for 1,000 photos, depending on size. HEIC files (iOS’s modern format) are about half the size of JPGs.
Are the photos deleted from the iPhone after moving them to the PC?
No. Copying photos to the PC does not delete them from the iPhone. To free space you must manually delete them after confirming the copy is complete.
Conclusion
Transferring photos from iPhone to computer is easier than it sounds. For quick transfers, use the USB cable. For automatic syncing, use Google Photos or iCloud. Choose the method that best fits your workflow. At iOutlet you’ll find iPhones with enough capacity to store your photos, and if you need more space we have 256 GB and 512 GB models at refurbished prices.
Diagnostic tools
Get more articles like this one.
Refurbished tech analysis + €5 with BEMVINDO5 on your first order.